Note: all screenshots used in this article are from Adobe Photoshop CC 2018 (19.1.2 release).
The best way to make Facebook cover photos is by creating a template in Adobe Photoshop and saving it for all your future needs. Once you’ve followed these six easy steps, you’ll be good to go for all your future cover photo needs.
b) Now you’ll be presented with the screen where you set your template dimensions.
c) Name your file (spoiler alert: my cover photo is sushi!) and enter your image dimensions. I’m making a Facebook cover photo for desktop, so I’ve entered 851 for width and 315 for height.

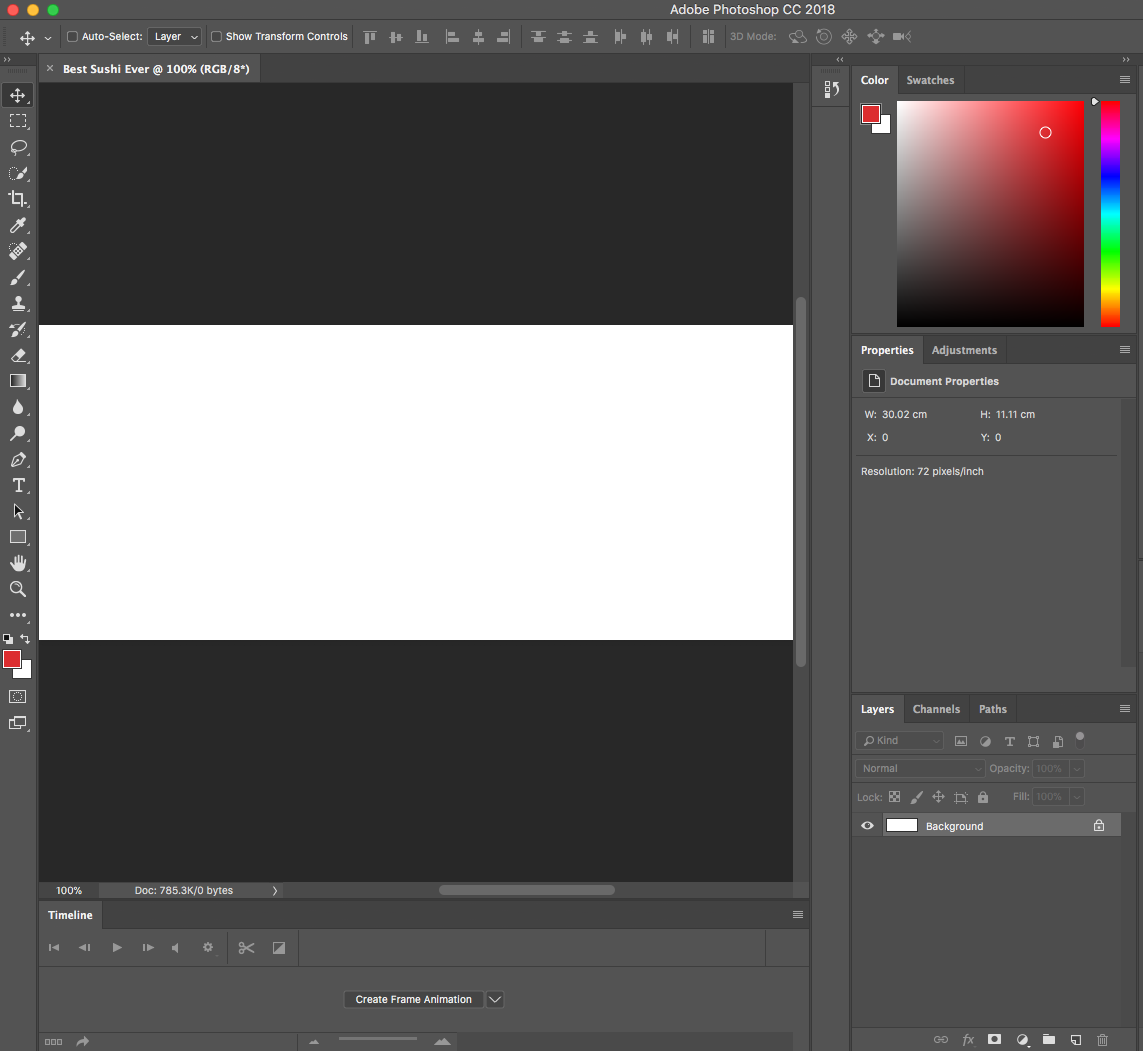
d) Once you’ve done this, click the blue Create button in the bottom right, and you’ll arrive at this screen showing a blank template.
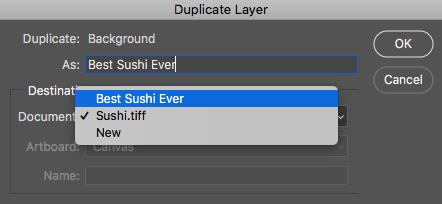
b) Under Destination, change the file name to the one you named your template—in my case, it’s “Best Sushi Ever.” Click OK.
b) To resize the image to fit the template, go to Edit > Free Transform (or press Control/Command + T).
c) A border (bounding box) encompassing all the cropped-off parts of your image will appear around the template. If you’re too zoomed-in you won’t be able to see it; zoom out if this is the case.
d) Shift-click one of the corners of the bounding box and drag it inwards to scale your image down so the sections you want to be visible appear within the template. Once you’ve scaled it the way you want, press the Enter key to lock in your image.

Ta-da! Here’s a cover photo that will look delicious on desktop or mobile.
Now that you’ve made a template, you can skip step 1 when making your cover photos in future.
As you upload more cover photos, you’ll build up a library. If you ever want to replace your current cover photo with an older one, click Select Photo instead of Upload Cover Photo in step 3, and you’ll be able to choose from previously uploaded images.
source:blog.hootsuite.com
The best way to make Facebook cover photos is by creating a template in Adobe Photoshop and saving it for all your future needs. Once you’ve followed these six easy steps, you’ll be good to go for all your future cover photo needs.
1. Create a Facebook cover photo template
a) Open Photoshop, and go to File > New.b) Now you’ll be presented with the screen where you set your template dimensions.
c) Name your file (spoiler alert: my cover photo is sushi!) and enter your image dimensions. I’m making a Facebook cover photo for desktop, so I’ve entered 851 for width and 315 for height.
d) Once you’ve done this, click the blue Create button in the bottom right, and you’ll arrive at this screen showing a blank template.
2. Select your Facebook cover photo image
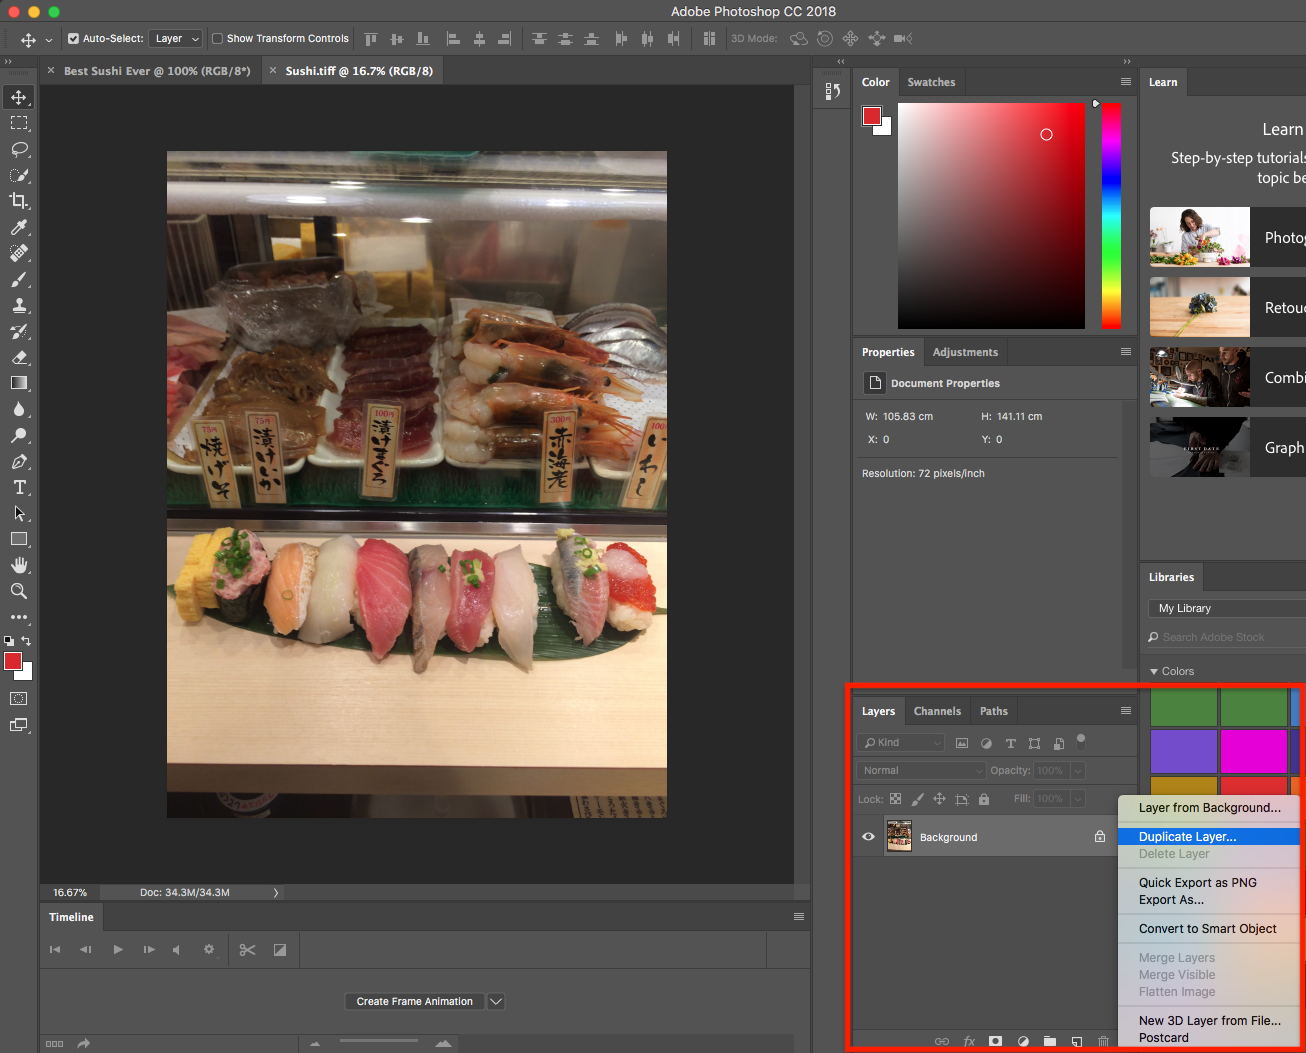
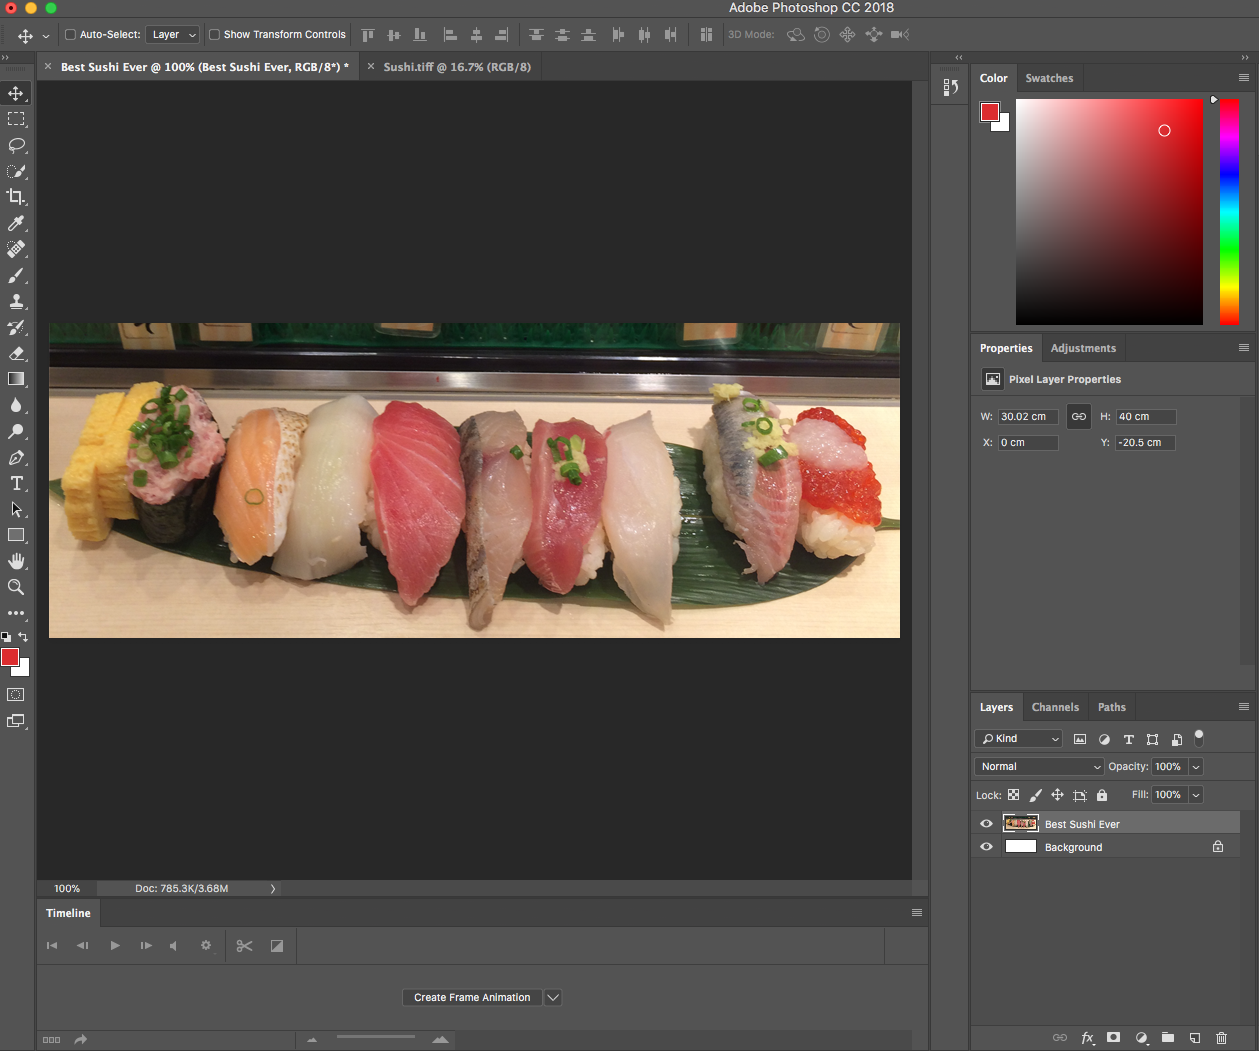
Go to File > Open and select the photo you’d like to see appear on top of your Facebook profile. It will open in a new tab in Photoshop.3. Make a copy of your photo and move it to your template
a) In the bottom right corner, right click the Layers panel and select Duplicate Layer. This will open up a dialogue box, as seen in the second image.b) Under Destination, change the file name to the one you named your template—in my case, it’s “Best Sushi Ever.” Click OK.
4. Resize the photo in your template
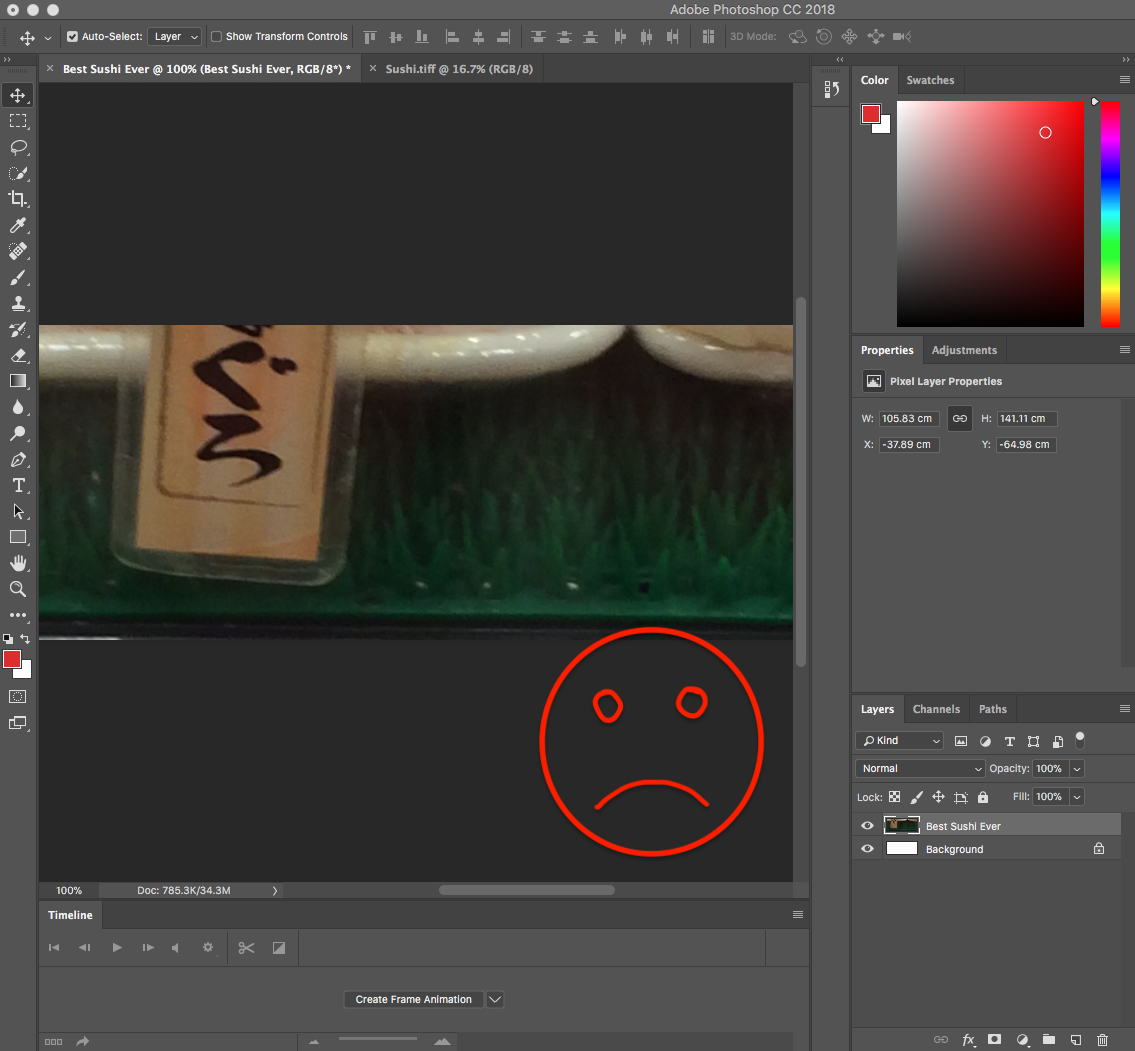
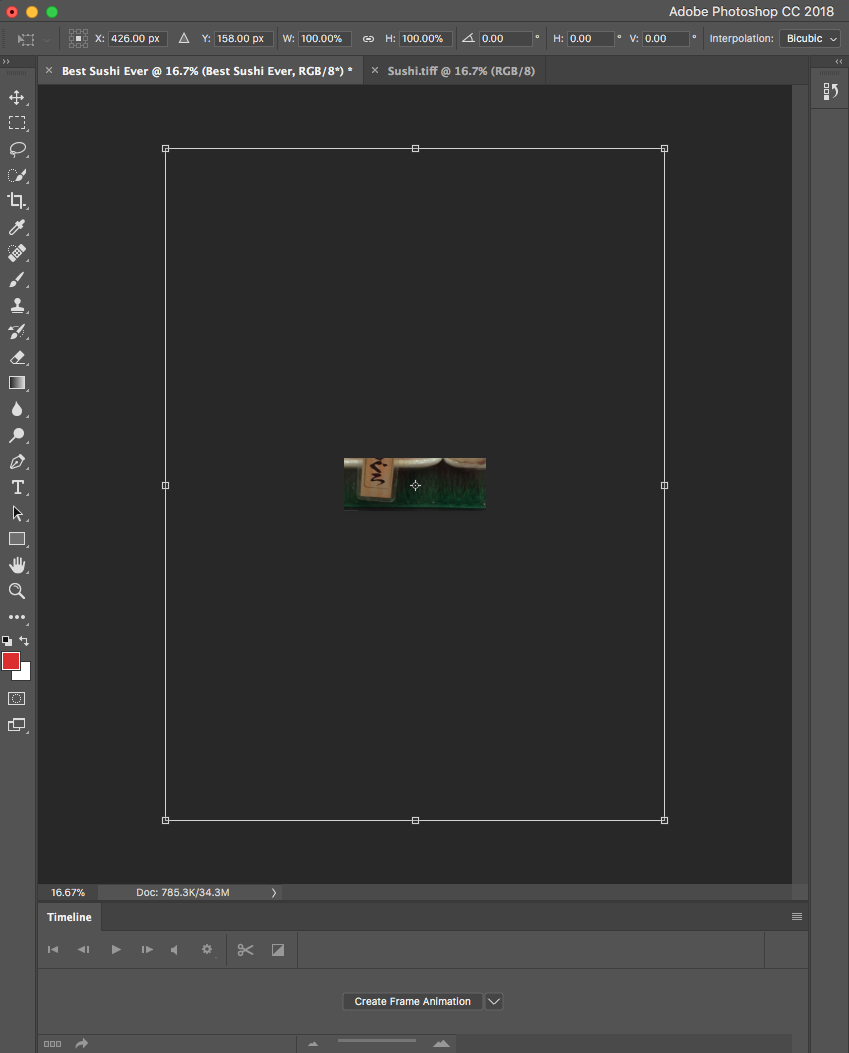
a) Tab back to your template file. You’ll see the formerly white space is now filled with an image. When I first did this step, I ended up with this, which looks like a hot mess. But don’t worry! This happened because I didn’t resize the image within the template yet.b) To resize the image to fit the template, go to Edit > Free Transform (or press Control/Command + T).
c) A border (bounding box) encompassing all the cropped-off parts of your image will appear around the template. If you’re too zoomed-in you won’t be able to see it; zoom out if this is the case.
d) Shift-click one of the corners of the bounding box and drag it inwards to scale your image down so the sections you want to be visible appear within the template. Once you’ve scaled it the way you want, press the Enter key to lock in your image.
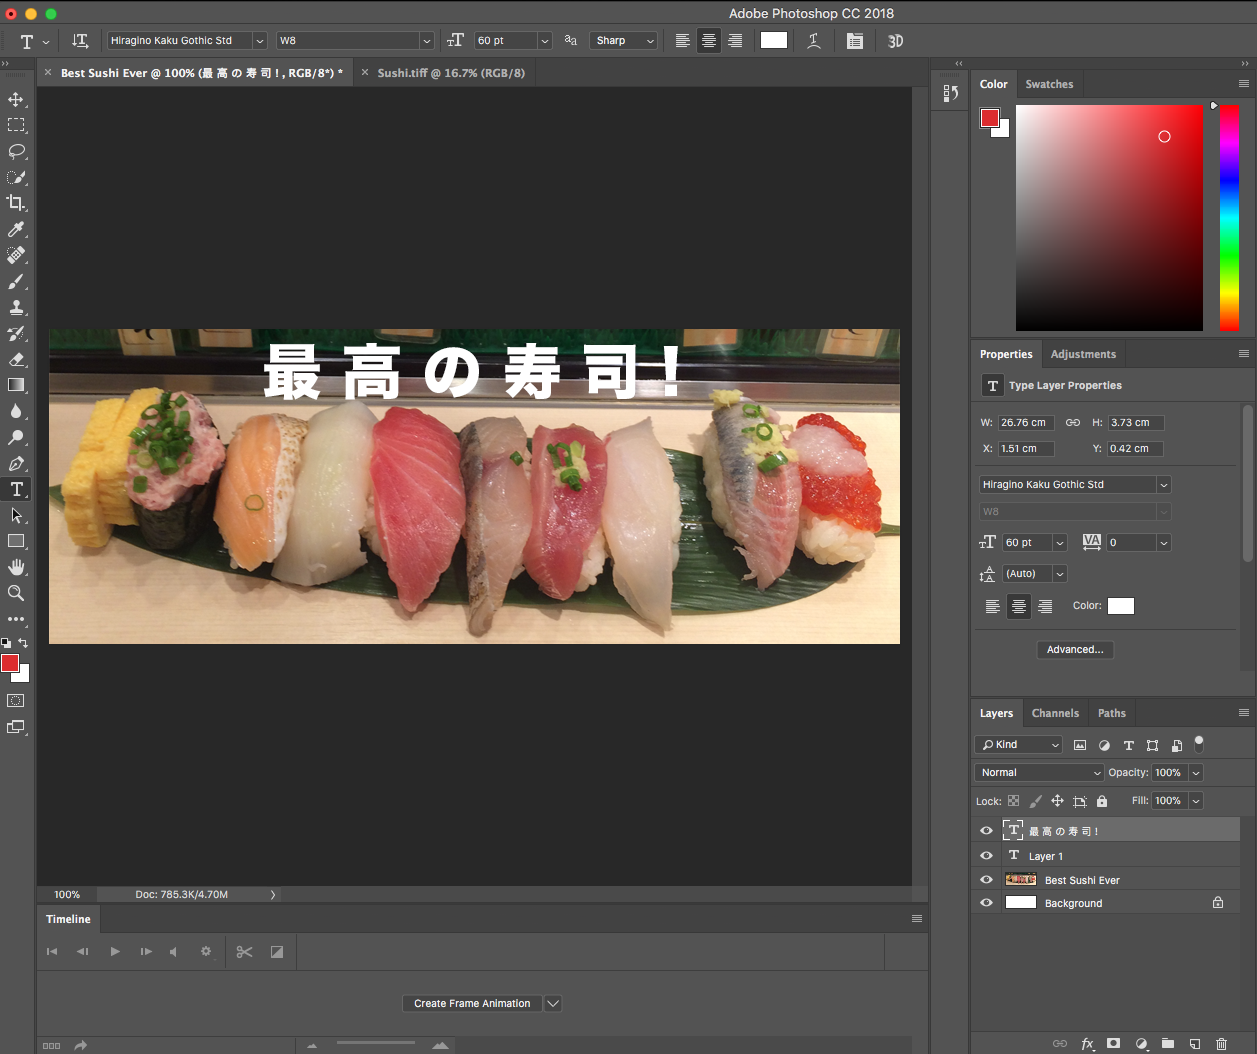
5. (Optional step) add text or other design elements
Here’s when you can add your logo, ad copy or other text/design elements. I went with some thematically-appropriate kanji (“Best sushi ever!”) for this example.6. Save your Facebook cover photo
Go to File > Save. Name your cover photo and select a file format. I picked PNG as recommended for maximum, mouth-watering detail.Ta-da! Here’s a cover photo that will look delicious on desktop or mobile.
Now that you’ve made a template, you can skip step 1 when making your cover photos in future.
How to upload Facebook cover photos
Once you’re finished making your Facebook cover photo, uploading it is easy.- Navigate to your Facebook business page and mouse over the cover photo space at the top.
- Click Add a Cover in the top left corner.
- Click Upload Photo/Video and select the photo you’d like to upload.
- A preview of your photo will appear in the cover space. Click the photo and drag it up or down to the vertical orientation of your liking.
- Click Publish.
As you upload more cover photos, you’ll build up a library. If you ever want to replace your current cover photo with an older one, click Select Photo instead of Upload Cover Photo in step 3, and you’ll be able to choose from previously uploaded images.
source:blog.hootsuite.com
No comments:
Post a Comment